Build your first feature
Build a Projects feature that lets signed-in users create, list, edit, and delete their own projects. Follow the same feature from its HTTP API to its database, ownership rules, and React UI.
You can work through the tutorial yourself or with a coding agent. Both paths use the same application, conventions, and checks.
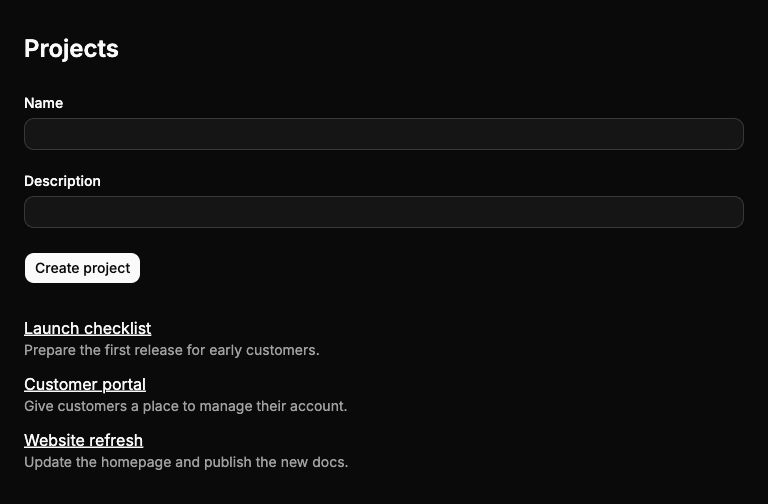
Your Projects screen after chapter 3, with a create form and saved projects. Select the image to view it at full size.
Get an app running
Start with the full-stack Next.js starter and the default SQLite database. The tutorial uses its authentication setup and React Query provider; you do not need to choose or install additional integrations.
- Build it yourself: follow the quickstart, sign up, and make the first validation change.
- Build with an agent: use the agent quickstart to create and inspect the same starter.
Already have that starter running? Begin with Build the API.
Keep the same app directory, account, and database through all three chapters.
Run commands from the app root. Use a second terminal for commands while
bun run dev is running.
Follow one feature through three chapters
| Chapter | What you will do | How you will check it |
|---|---|---|
| 1. Build the API | Generate a Projects resource, add a description, and persist it with Drizzle | Apply migrations and create and read projects over HTTP |
| 2. Add ownership | Use the signed-in account to enforce access to projects | Test that one account cannot read or change another account's projects |
| 3. Connect the UI | Add forms, a paginated list, detail and edit pages, and cache refreshes | Try forms, conflicting edits, and account switching in the browser |
The first chapter is a local API exercise. Complete the ownership chapter before making the feature available to users.
Use the chapter links at the top of each page to move between the API, ownership, and UI chapters. The highlighted chapter shows your current place.
Read the examples
Each chapter begins with the files you will work on and ends with a checkpoint. Finish that checkpoint before moving to the next chapter.
- File explorers show the files for each edit. Select the filename when a step changes multiple files, then choose one to review its changes or complete source. Copy copies the complete source for that step without diff markers. Work through every file before continuing.
- Diffs show edits to existing files. In Markdown, the
---and+++lines name the file,-marks a removed line, and+marks an added line. Make those edits without copying the markers or@@line numbers into your source. - Complete files in Markdown begin with a comment naming their destination. Create the directory if needed, then add or replace that file as instructed.
- Excerpts explain generated code. Read them in the named file; you do not need to paste them.
The Markdown version of each page contains the same code examples as the explorers.
Follow along with your agent
Give your coding agent this prompt from the starter's directory:
Read https://beignetjs.com/markdown/agent-instructions.md and this app's
AGENTS.md or CLAUDE.md. Follow the Projects tutorial starting at
https://beignetjs.com/markdown/build-first-resource.md, then complete the
ownership and UI chapters linked there.

Work through the chapters in order. Use the documented generator, make the
chapter's edits, and run its checks before continuing. Preserve existing
application work. If the installed version differs from the web docs,
resolve the difference using the installed package guidance and changelog.

At the end, report the files changed, checks run, failures or skipped checks,
and how I can try creating and editing a project in the browser.
Read each chapter alongside the changes. The explanations connect generated files to the behavior you are building, so you can review the agent's work.
Keep the reference nearby
Use Mental model for framework vocabulary and App architecture for folder responsibilities. The CLI reference explains generator options and diagnostic commands.
When the feature works, choose a task from Guides. Start with Run a background job to save and deliver work after creating a project. Use Testing to extend coverage and Deployment to prepare the application for a hosted environment.